
How do you set up Google Search Console for a website?
Set up Google Search Console by adding your website as a property, choosing a verification method and confirming ownership. Once verified, submit your XML sitemap and allow Google to collect data so you can monitor indexing, search performance and technical issues.
To set up Google Search Console, add your website as a property, choose the property type that matches your needs, verify ownership and then submit the site’s XML sitemap. Once verification is complete, Search Console can collect data about how Google discovers, crawls, indexes and displays your pages in search results.
1. Choose the right property type
Google Search Console offers two main property types:
- Domain property: Covers all subdomains, folders and protocol versions of a domain, including HTTP and HTTPS. This is usually the most complete option, but it requires DNS verification.
- URL-prefix property: Covers only the exact URL prefix entered, such as the HTTPS version of a particular domain, subdomain or directory. It offers several verification methods and can be useful when access is limited to part of a website.
For a typical business website, a domain property provides the broadest view of organic search activity. If the website has separate subdomains or different protocol versions, check that the selected property includes the versions you want to monitor.
2. Add the website to Search Console
Open Google Search Console and select the option to add a property. Enter either the domain name for a domain property or the complete URL prefix for a URL-prefix property. Check the address carefully, particularly the protocol, subdomain and trailing path. A property for https://www.example.co.uk is not automatically the same as a property for https://example.co.uk when using the URL-prefix option.
3. Verify ownership
Verification confirms that you control the website or its domain. It does not change rankings, alter the website or guarantee that pages will be indexed. The available methods depend on the property type and the access you have.
- DNS record: Domain properties normally require a TXT record to be added to the domain’s DNS settings. Copy the record provided by Search Console into the DNS management area supplied by your domain or hosting provider. DNS changes may take time to become visible. Leave the record in place after verification, as removing it can cause ownership verification to lapse.
- HTML file: For a URL-prefix property, download the verification file supplied by Search Console and upload it to the website’s root directory. It must remain accessible at the specified URL.
- HTML tag: Add the meta tag supplied by Search Console to the head section of the website’s homepage. This method is suitable when you can edit the site template or use a reliable SEO or site-management tool that preserves the tag.
- Analytics or tag-management verification: These options may work when the relevant tracking code is already installed and you have the required administrative access. The code must be present on the page and associated with the same account used for verification.
After applying the chosen method, return to Search Console and select Verify. If verification fails, check that the DNS record or file has been added to the correct domain, that the HTML tag is in the live page source and that caching or security settings are not blocking access.
4. Add the correct sitemap
Once the property is verified, open the Sitemaps section and enter the path to the XML sitemap, such as sitemap.xml or the sitemap index path generated by the website. Submit it rather than entering the full address if Search Console already displays the property prefix.
A sitemap should contain the canonical, indexable URLs that you want Google to discover. It should not normally include redirected pages, pages blocked from crawling, duplicate URL variations or pages marked as not to be indexed. If the website uses a sitemap index, submitting the index allows Search Console to find the individual sitemaps beneath it.
After submission, review the status shown in Search Console. A successful submission means that Google could retrieve the sitemap; it does not mean that every listed URL has been crawled or indexed. Resolve any parsing, access or URL-format errors reported for the sitemap.
5. Check the website’s indexing signals
Use the URL Inspection tool to test important pages individually. It can show whether Google has discovered a URL, whether the page is eligible for indexing, which canonical URL Google selected and whether the page was crawled recently. You can request indexing for a new or substantially updated page when appropriate, but this is not a substitute for fixing a technical issue or creating a clear internal linking structure.
Also check that important pages are:
- Accessible to search-engine crawlers and not unintentionally blocked by robots.txt.
- Not carrying a noindex directive unless exclusion is deliberate.
- Returning a successful server response rather than an error or redirect chain.
- Using the intended canonical URL.
- Linked from relevant, accessible pages on the website.
6. Configure access and notifications
Use the Users and permissions settings to give colleagues or agencies the level of access they need. Full ownership should be limited to people who require it, while delegated access is generally sufficient for reporting and SEO work.
Keep Search Console email notifications enabled. Messages can identify issues such as indexing failures, security problems, manual actions or significant changes in website functionality. Check that the verified property and notification recipients remain appropriate when staff, suppliers or website ownership changes.
7. Allow data to accumulate and review the reports
Search Console data is not always available immediately after verification. Once reporting begins, review Performance, Pages, Sitemaps, Core Web Vitals, HTTPS and any Enhancements or security reports that apply to the website.
Performance reports show queries, pages, countries, devices, impressions, clicks, click-through rate and average position. Use these figures as diagnostic information rather than treating average position as a complete measure of SEO performance. Compare relevant periods and segments, and investigate changes alongside website releases, content updates, technical changes and seasonal demand.
Common setup problems
- Wrong property selected: Confirm that the report includes the correct protocol, subdomain and domain variation.
- Verification code removed: A deleted DNS record, HTML file or meta tag can invalidate verification.
- Sitemap submitted at the wrong path: Submit the actual sitemap or sitemap index generated by the website, and check that it returns a successful response.
- Staging or development site added instead: Verify the live production website and avoid submitting private or temporary environments.
- Indexed pages reported as excluded: Read the stated reason before taking action. Some exclusions, such as duplicate URLs or intentional redirects, are normal and do not require correction.
- Several properties show different data: This is expected when URL-prefix properties cover different versions or sections of a website. Use a domain property where a consolidated view is required.
After the initial setup, treat Search Console as an ongoing diagnostic resource. Recheck the sitemap after major site changes, investigate unexpected indexing or performance changes, and use the reports alongside server, analytics and SEO data to distinguish technical problems from normal changes in search demand.
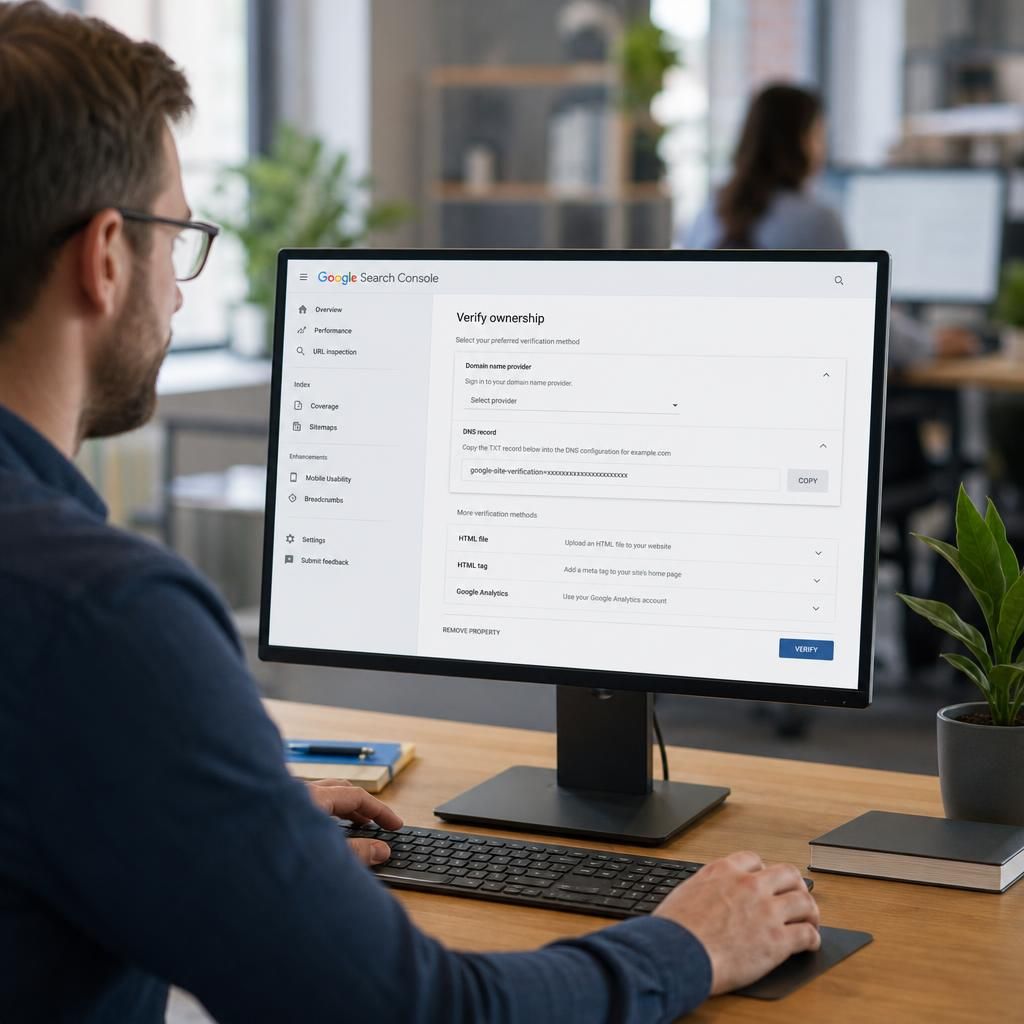
Google Search Console ownership verification confirms that you control the website or domain you want to monitor. It is a required setup step before Search Console can provide property data, and it does not affect rankings or guarantee that pages will be indexed.
For most established websites, add a domain property and verify it by placing the TXT record supplied by Search Console in the domain’s DNS settings. This includes the domain’s protocols, subdomains and folders in one property. If DNS access is unavailable, add a URL-prefix property instead and verify it with an HTML file, meta tag or an eligible connected service.
- Check the property address carefully, including the protocol and subdomain.
- Leave the verification record, file or tag in place after verification.
- Confirm that the live website, rather than a staging environment, has been added.
After verification, submit the website’s XML sitemap and use URL Inspection to check important pages. Search Console may need time to build its reports, so an empty or incomplete report immediately after setup is not usually a fault.